


Description
Start your microgreens journey at home with this all-in-one Microgreens Starter Kit by WE Hydroponics. Specially curated for beginners, kitchen gardeners, and students of our 10-day microgreens training program, this kit has everything you need to grow fresh, nutritious, and chemical-free microgreens from seed to harvest.
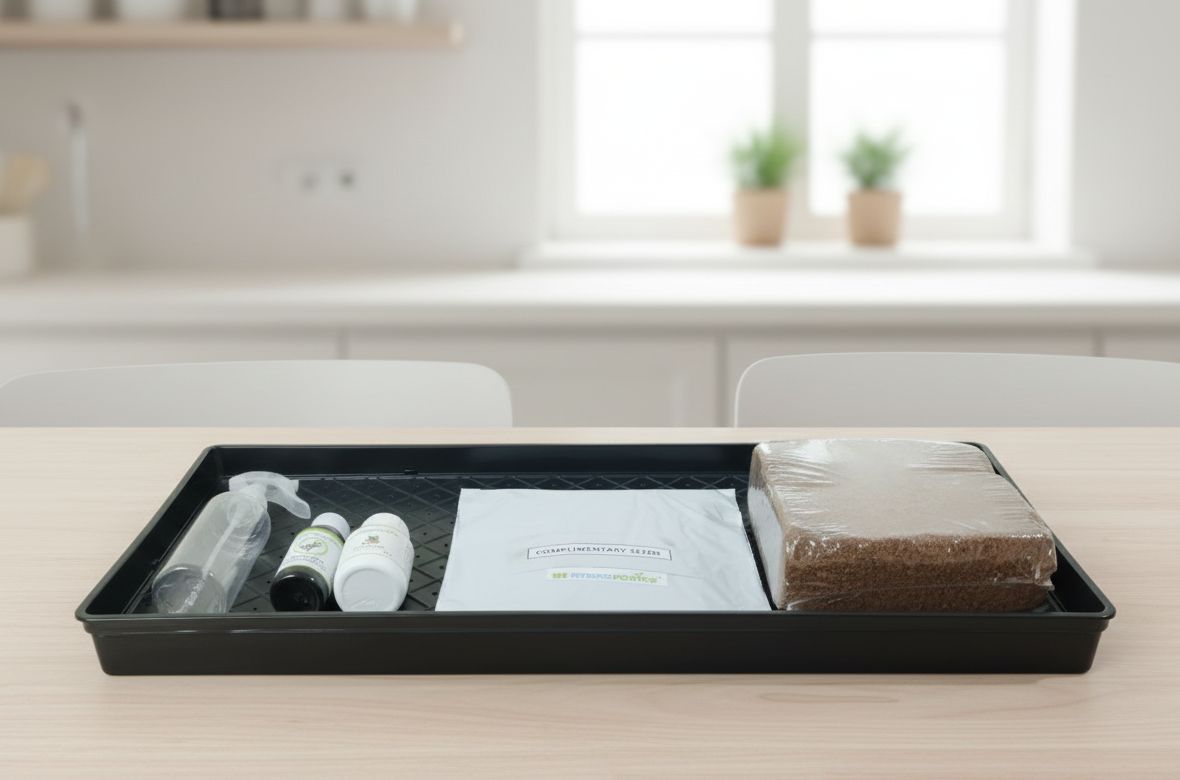
The kit includes:
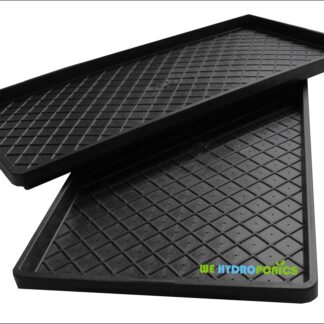
- Microgreens tray Pair (One tray with pour holes other without Hole) – ensures proper drainage and airflow
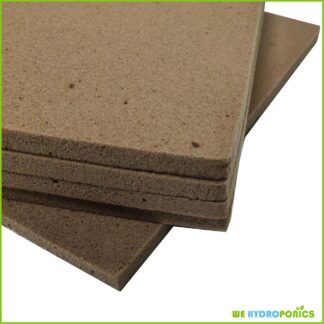
- 800g dry cocopeat brick – expands to 4–5 liters of soft, moisture-retaining media
- Spray bottle
- Complementary microgreen seeds – perfect for your first successful batch
- Hydrocure 65g – a natural antifungal organic powder designed to protect against one of the most common microgreens issues: fungal infections
- Booster Nitro 50ml – growth booster to enhance rooting and germination
Advantages of Microgreen Kit:
- Everything you need in one easy-to-use kit
- Great for homes, students, and schools
- Supports clean, healthy eating habits
- Simple setup, no electricity or special tools required
- Perfect companion for our 10-day online microgreens training
- 100% reusable trays for sustainable growing
Usage of Microgreen Kit :
- Ideal for beginner and learner of microgreens farming
- Perfect for growing at windowsills, balconies, or kitchens
- Used in hydroponic learning programs and workshops
- Suitable for kids, hobbyists, and first-time growers
How to Use Your Microgreens Starter Kit – Step-by-Step Guide
Step 1: Unpack Your Kit
Take out all components and set them on a clean surface. Make sure the space is well-lit (indirect sunlight) and has good airflow.
Step 2: Set Up the Trays
Place tray with hole on top of the other which is not having hole – the top tray is where you’ll grow, and the bottom tray will catch excess water.
Step 3: Prepare Cocopeat
Soak the dry cocopeat in water until it fully expands (800g makes about 4–5 liters).
Once it becomes soft and fluffy, spread a 1–2 cm thick layer evenly in the top tray.
Gently level it – don’t press it hard.
Step 4: Moisturize the Growing Media
Use the spray bottle to mist the cocopeat until it’s moist like a wrung-out sponge – not soggy.
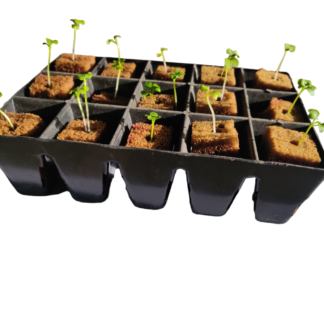
Step 5: Sow the Seeds
Sprinkle the microgreen seeds evenly over the surface. Avoid overlapping too much.
Step 6: Lightly Cover the Seeds
Sprinkle a thin layer of cocopeat on top – just enough to cover the seeds. This helps block light and maintain moisture.
Step 7: Apply Hydrocure (Antifungal Protection)
Mix about 1 gram of Hydrocure in 1 liter of clean water.
Spray gently over the surface after sowing to prevent fungal infections – a common issue in microgreens.
Step 8: Germination Phase (2–3 Days)
Mix about 1-2 drop of Booster Nitro in 1 liter of clean water to prepare nitromixer.
Mist the top daily and spray nitromixer in the bottom tray to maintain humidity.
Tiny white roots and shoots will start to appear.
Step 9: Daily Care (Day 4–7)
Spray nitromixer once or twice a day to keep the cocopeat moist.
Avoid overwatering – the media should never feel soggy.
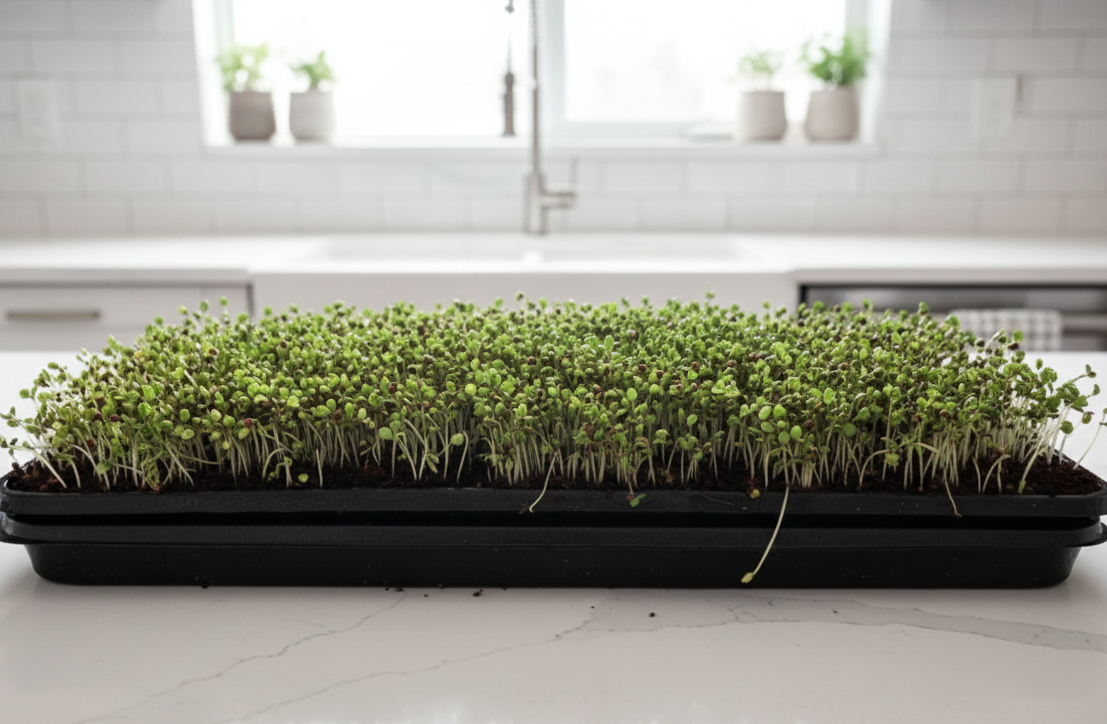
Step 10: Harvest Time!
By Day 8–10, your microgreens will be 2–4 inches tall.
Use clean scissors to cut just above the cocopeat.
Rinse gently and enjoy!
How to Use Your Fresh Microgreens?
-
Add them to salads, sandwiches, smoothies, and soups for a fresh boost
-
Use as a nutritious garnish on any dish
-
Include in your diet to support recovery and overall wellness — microgreens are rich in flavour, vitamins, and minerals
Hydrocure plays a vital role in this kit. Since fungal growth is a major challenge in microgreens farming due to humidity and close planting, Hydrocure helps prevent damping off, mold, and root-related fungal attacks, ensuring a healthier and safer crop.
Whether you’re a learner, hobbyist, student, or part of our 10-day Microgreens Training Program, this kit will support you through hands-on, real-world practice – from seed to harvest – right at your kitchen counter, balcony, or indoor space.